AI based work from anywhere Solution
- Download the application zip file from the URL.
- Extract the zip file into your desired folder.
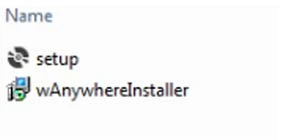
- Two files shall be visible.
- setup.exe
- wAnywhereInstaller.msi
- Double click on the setup.exe file to install the wAnywhere Agent manually.
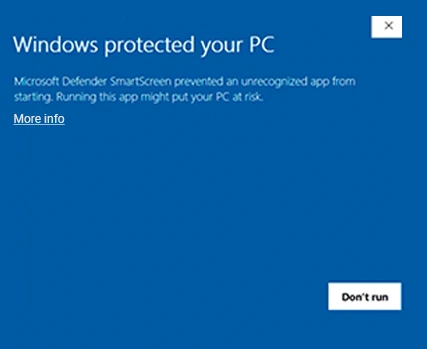
- If you are presented with the Microsoft Defender Smart screen(as shown in fig 2 ), Click on "More Info" hyperlink", If not then proceed to Step No. 7.
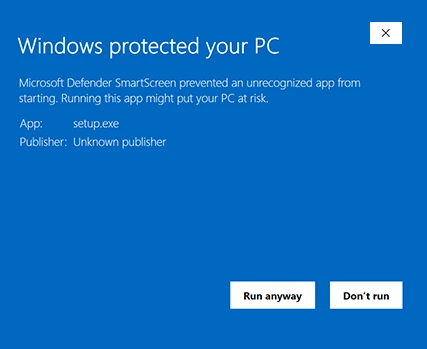
- There should be an additional button present now, namely "Run Anyway"(as shown in fig 3 Click that button to proceed with the installation.
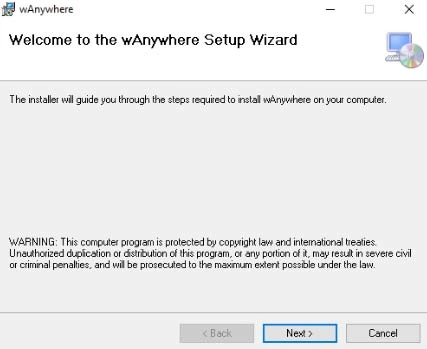
- You should see the window as shown in Fig 4 Click Next.
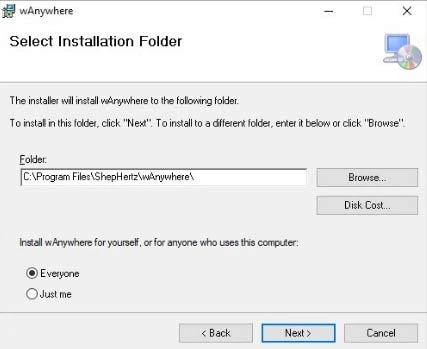
- Select Installation Folder window should be visible as shown in Fig 5 Select the desired Installation folder.
- Select the desired Installation method among “Everyone” and “Just me”.
- “Everyone”: - When selected, the application will be installed for all the users using the system in which wAnywhere is being installed.
- “Just me”: - When selected, the application will be installed for only the user who is installing the wAnywhere application.
- Click on the Next button.
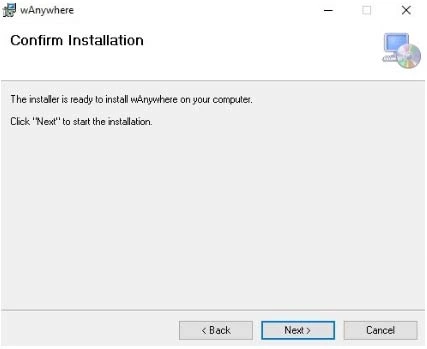
- Confirm Installation window should be shown as seen in Fig 6. Click Next to confirm.
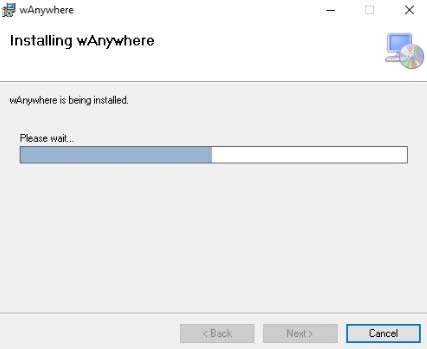
- If the system has admin security configured, you will be prompted to enter the system admin credentials.
- Enter system admin credentials and proceed.
- Once admin credentials are authenticated, the installation procedure should have begun as shown in Fig 7.
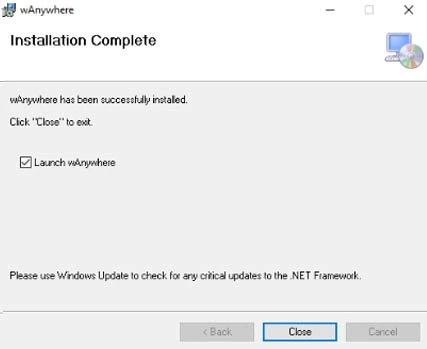
- Upon successful installation you should see an Installation complete window as shown in Fig 8. Click on Close button. wAnywhere should launch automatically.
- If wAnywhere is not launched automatically. You should also be able to run wAnywhere from desktop via the shortcut at your desktop as shown in Fig 9.
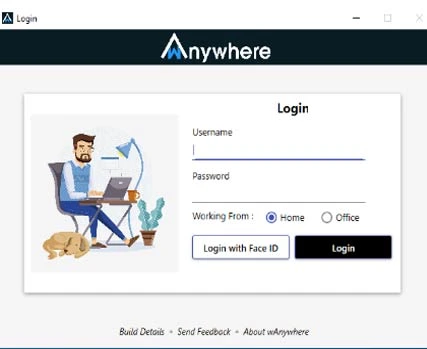
- Once wAnywhere is launched, you should be able to see wAnywhere Login window as shown in Fig 10
- Select where you are working from and based upon your desired Login method. Kindly enter credentials and press on Login button if you want to login via username and password as seen in Fig 11 or kindly click Login with Face ID button if you want to login via your Face.